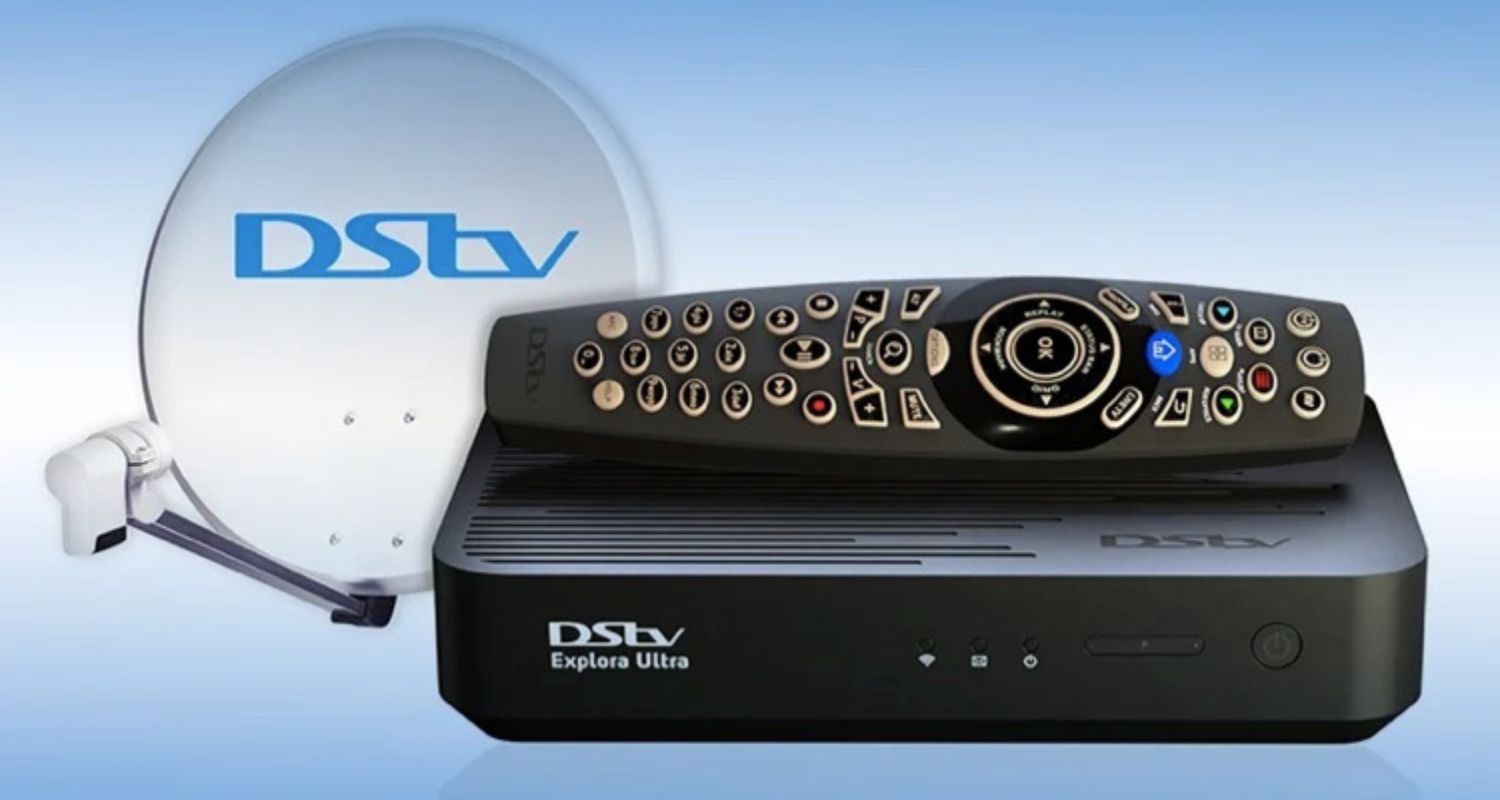
DSTV Explora Ultra Installations from DSTV Worx Installers are dependable and skilled. To assist you with decoder installations and signal issues, our DStv certified installers are on call every day.
- Support HD, 4K, HDR, and Dolby Atmos.
- Pause live TV for 2 hours.
- Record up to 110 hours.
- Rent Box Office movies.
- Extra view capable.
- Watch Catch Up.
- Built-in Wi-Fi.
An 80cm satellite dish kit and a Smart LNB are needed for the suggested Dstv Explora Ultra installation. This is a suggestion for independent homes. A Smart Switch will thus be necessary in a communal setup where you share the same dish.
Additionally, if you are doing the installation yourself, you will need a signal finder machine and a coaxial cable (RG6 65Braid is advised).
Hiring a qualified DSTV installer is something we strongly advise. All of the tools and equipment needed for the installation are in the possession of professional installers. For higher-quality transmissions, they may position your satellite dish in the ideal spot. The optimum signal quality is ensured by installing the dish correctly.
If you’ve made the decision to install your own Dstv Explora Ultra, we advise doing so only if you are technically inclined.
Step 1: Select the best location for your satellite dish installation.
- When mounting your satellite dish, pick the best location. A satellite dish should be mounted in a location that is free of obstructions like buildings and trees, high enough that people cannot disrupt it while passing by, and open to the east.
2: Align your satellite dish.
- You must first rotate your satellite dish for horizontal adjustment and then vertically adjust for elevation in order to locate a satellite signal. To improve the quality of your signal, use your signal finder machine. For DStv services, your satellite dish must be oriented at the proper angle, which is 68.5E (Intelsat 20).
3: Connect the Signal Cable.
- An F-connector is used to connect the RG6 cable to the Uni-cable port of a Smart LNB. Next, attach to a port marked “Uni-cable” on the rear of your DStv Explora Ultra. You can also turn on your TV by plugging in the power and HDMI cables right now.
4: Connecting
- Launch the installation wizard and adhere to its instructions. Before starting the scan, use the Quick Set-up option and wait for the three tuners to display blue bars of the signal. Verify that channel 100 is playing after the scanning procedure. To activate the decoder, then get in touch with Multi-choice.
How can I use a smart switch to link my DSTV Explora Ultra?
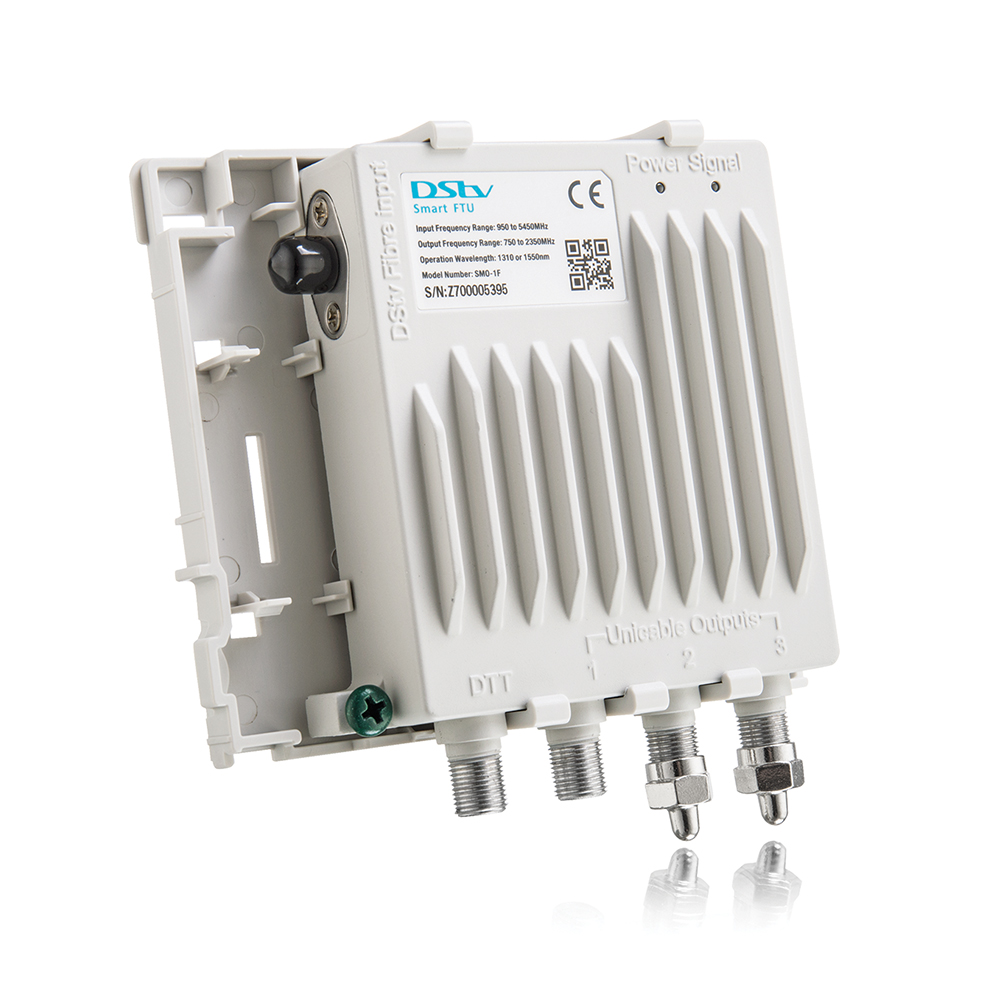
One cable should be connected from the Smart-Switch Uni-cable output port A. The Uni-cable LNB input port on the rear of your decoder is where it goes next.
Connect the LNB to the DSTV Multi-Switch using four cables if you’re using a quad LNB. You need to connect them to the input ports designated VL, HL, VH, and HH on the DSTV Smart-Switch. After that, the remaining connections are identical to those made with a Twin LNB.
Use an RCA or HDMI cable to connect your decoder to your TV. After that, turn on your decoder and follow the installation instructions.